FreshnCrunchy

Delicious, Fun & Healthy Food

Chocolate

Homemade Chocolate Milk (Making Your Own Nut Milks)

DrinkLina LiwagComment

Happy 2016!  What have you been up to recently?  It felt like the holidays and even the year went by so fast as we’re now approaching the middle part of January.   

2015 was quite a hectic year for me.  My body feels it and knows it all too well that I have decided to take a slower pace.  Now, I’ve been going to bed so much earlier than I used to.  I’ve taken a break from Instagram (yay!).  I’ve also decided to connect more with family and old friends, not just by social media but face to face and hanging out. And I’m back to the yoga studio again!  I'll look forward to re-evaluating myself at the end of the year and let's see how things will turn out then.  I'm hoping that I will do well!

When it comes to healthy eating, I know that we all can do something.  It doesn’t have to be complicated.  It can be drinking more water.  Maybe eating more plants or packing our own lunch.   Something we can sustain over time.

One of the simple things that I teach in my cooking classes is making nut milks.  This is great for those who are trying to avoid  dairy.  Also, even the packaged nut milks contain unnecessary processed ingredients.    And isn’t it exciting if we can make homemade chocolate milks for us and our children?   We can count our own ingredients - maximum 4-5, instead of unfamiliar ones shown here.

Homemade Chocolate Milk
Serves 2

Ingredients:
2 cups homemade almond milk or cashew milk (see recipe below)
1 cup warm or room temperature filtered water
2 Tbsp. cacao powder, I used this
2 Tbsp. coconut sugar or maple syrup
1/2 vanilla bean, scraped  or 1/4 tsp. vanilla powder

Optional add-ins (create additional flavours and really delicious)
1 Tbsp. lucuma powder
2 tsp. maca powder
pinch of good salt

Blend all ingredients until well incorporated.  It can be served warm or iced cold.

Homemade Nut Milk

Ingredients:
1 cup raw almonds, soaked overnight, drained and rinsed
or 1 cup raw cashews, soaked for 6 hours, drained and rinsed
4 cups filtered water
 

Place all ingredients in a high speed blender and whizz for up to 60 seconds until the water turns opaque.  You would need a nut milk bag to strain the pulp from the almonds.  If using cashews, it's not necessary.   If you want to sweeten your nut milk, you can add 2 pitted Medjool dates.   You can also check this older post  on how to make homemade coconut milk or macadamia milk. 

IMG_8680.jpg

Wishing you the best of 2016!

Warmly,

Lina 

Austin’s Saturday “Deluxe” Pancakes (Banana, Chocolate and Strawberry Vegan Pancakes) + My Interim Health Coaching Certificate

BreakfastLina Liwag4 Comments
IMG_3280.jpg

Ahhh!...it’s Saturday morning...it’s  Austin’s designated “pancake day.” It’s a regular work day for my hubby so it’s just me and my son at home.  Pancakes are the focal point and the starting point of his weekend breakfast.  He usually has his smoothies during school days but in the weekend, he looks forward to what he calls his “deluxe breakfast.”   On Friday evenings, he’ll  actually  ask me “what time do I wake you up to make my breakfast, Mama?” I leave our home very early during the work week so Saturday morning is just the only time I get to sleep in a bit...my own little way of indulging.


IMG_3303.jpg

So I try to do different variations of pancakes.  You see, he started having some food sensitivity almost a year ago.   For six months, he had to be strict with the list of food he can’t eat and I sort of work around this list.   These days, we’ve been introducing some items every now and then and it seems to be working for him.  No more breakouts so far.  However, he can’t just go crazy yet so most times we still stick to no eggs, definitely no dairy and although he’s not really completely allergic to gluten, we try to simplify and use oat flour, buckwheat flour and the occasional spelt which poses no problems for him.

Blueberry pancakes are his favourite but  this week, I felt like making pancakes that’s a cross between chocolate banana bread and something I grew up eating in the Philippines - banana fritters. How yummy!  It brings back childhood memories for me (although at my age, I can't really eat this too much).   It would have been better if the bananas were from my dad’s backyard but hey, organic Ecuadorian bananas will do just fine. They are not local but Canada is just not the land for banana trees.  I hope everyone will enjoy this as much as we do.


IMG_3293.jpg

Austin’s Saturday “Deluxe” Pancakes (Banana, Chocolate and Strawberry Vegan Pancakes)
 
Ingredients (preferably organic)
 
Dry Ingredients:
1 1/4 c. oat flour
1/4 c. buckwheat flour
3 Tbsp. cacao powder 
2 1/2 tsp. baking powder
1/2 tsp. vanilla powder 
1/4 tsp. Himalayan crystal salt
1/4 c. chopped walnuts

Wet Ingredients:
1 1/2 nut milk of choice (I used homemade cashew milk)
1 very ripe banana, chopped (to be blended with the nut milk)
1 banana thinly sliced (to be mixed with the batter)
coconut oil to cook the pancakes
 Garnish:
sliced strawberries
sliced bananas
cacao powder
maple syrup

Method:
1. Mix the dry ingredients together in a mixing bowl.
2. Combine  the one banana with the nut milk in a blender and pulse until  well blended. 
3. Pour the nut milk/banana mixture into the dry ingredients.  Add the banana slices then  stir the mixture until well combined then set the batter aside for at least 10 minutes.
4. Heat a little coconut oil into a skillet and pour 1/4 c. of the batter for each pancake making sure 4  banana slices go to each one.  Turn the heat into low and cook for approximately 2-3 minutes.  It should form some bubbles on top and check the underside for doneness, then flip over to cook the other side.
5. You can place the cooked ones in a warm oven while waiting for the rest to be done. This makes about 10 pancakes. 
6. Serve by sprinkling cacao powder, top with a mixture of strawberries and more bananas then drizzle with pure organic Canadian maple syrup.  Enjoy!


IMG_3276.jpg

Suggestions:
1. If you want a thicker mixture, you can reduce the nut milk to 1 1/4 then the pancakes will be more dense and thicker.  
2. You can also use other berries for toppings.  By mixing the berries with bananas, it gives it a little tartness for an enhanced flavour. If you are using blueberries or strawberries, make sure that they organic since they are on the dirty dozen+ list of produce high in pesticide.  You can check the list here.
 

IMG_3287.jpg

Last week, I received my interim certificate from the Institute for Integrative Nutrition.  I’m halfway through my holistic health coach training.  How exciting!  It felt like I just  started yesterday but it has already been 20 weeks.   I am very grateful for this small victory and I can’t wait to finish the whole course!

lina_cert.jpg

I hope everyone is enjoying this time of year.  Toronto had some winter weather with some snow and freezing rain last week but I will wait patiently for the trees and flowers to bloom.  I am looking forward to take pictures when they do!

Warmly,

Lina


Homemade "Raw" Nutella Spread

Spreads, SnacksLina Liwag3 Comments
IMG_2997.jpg

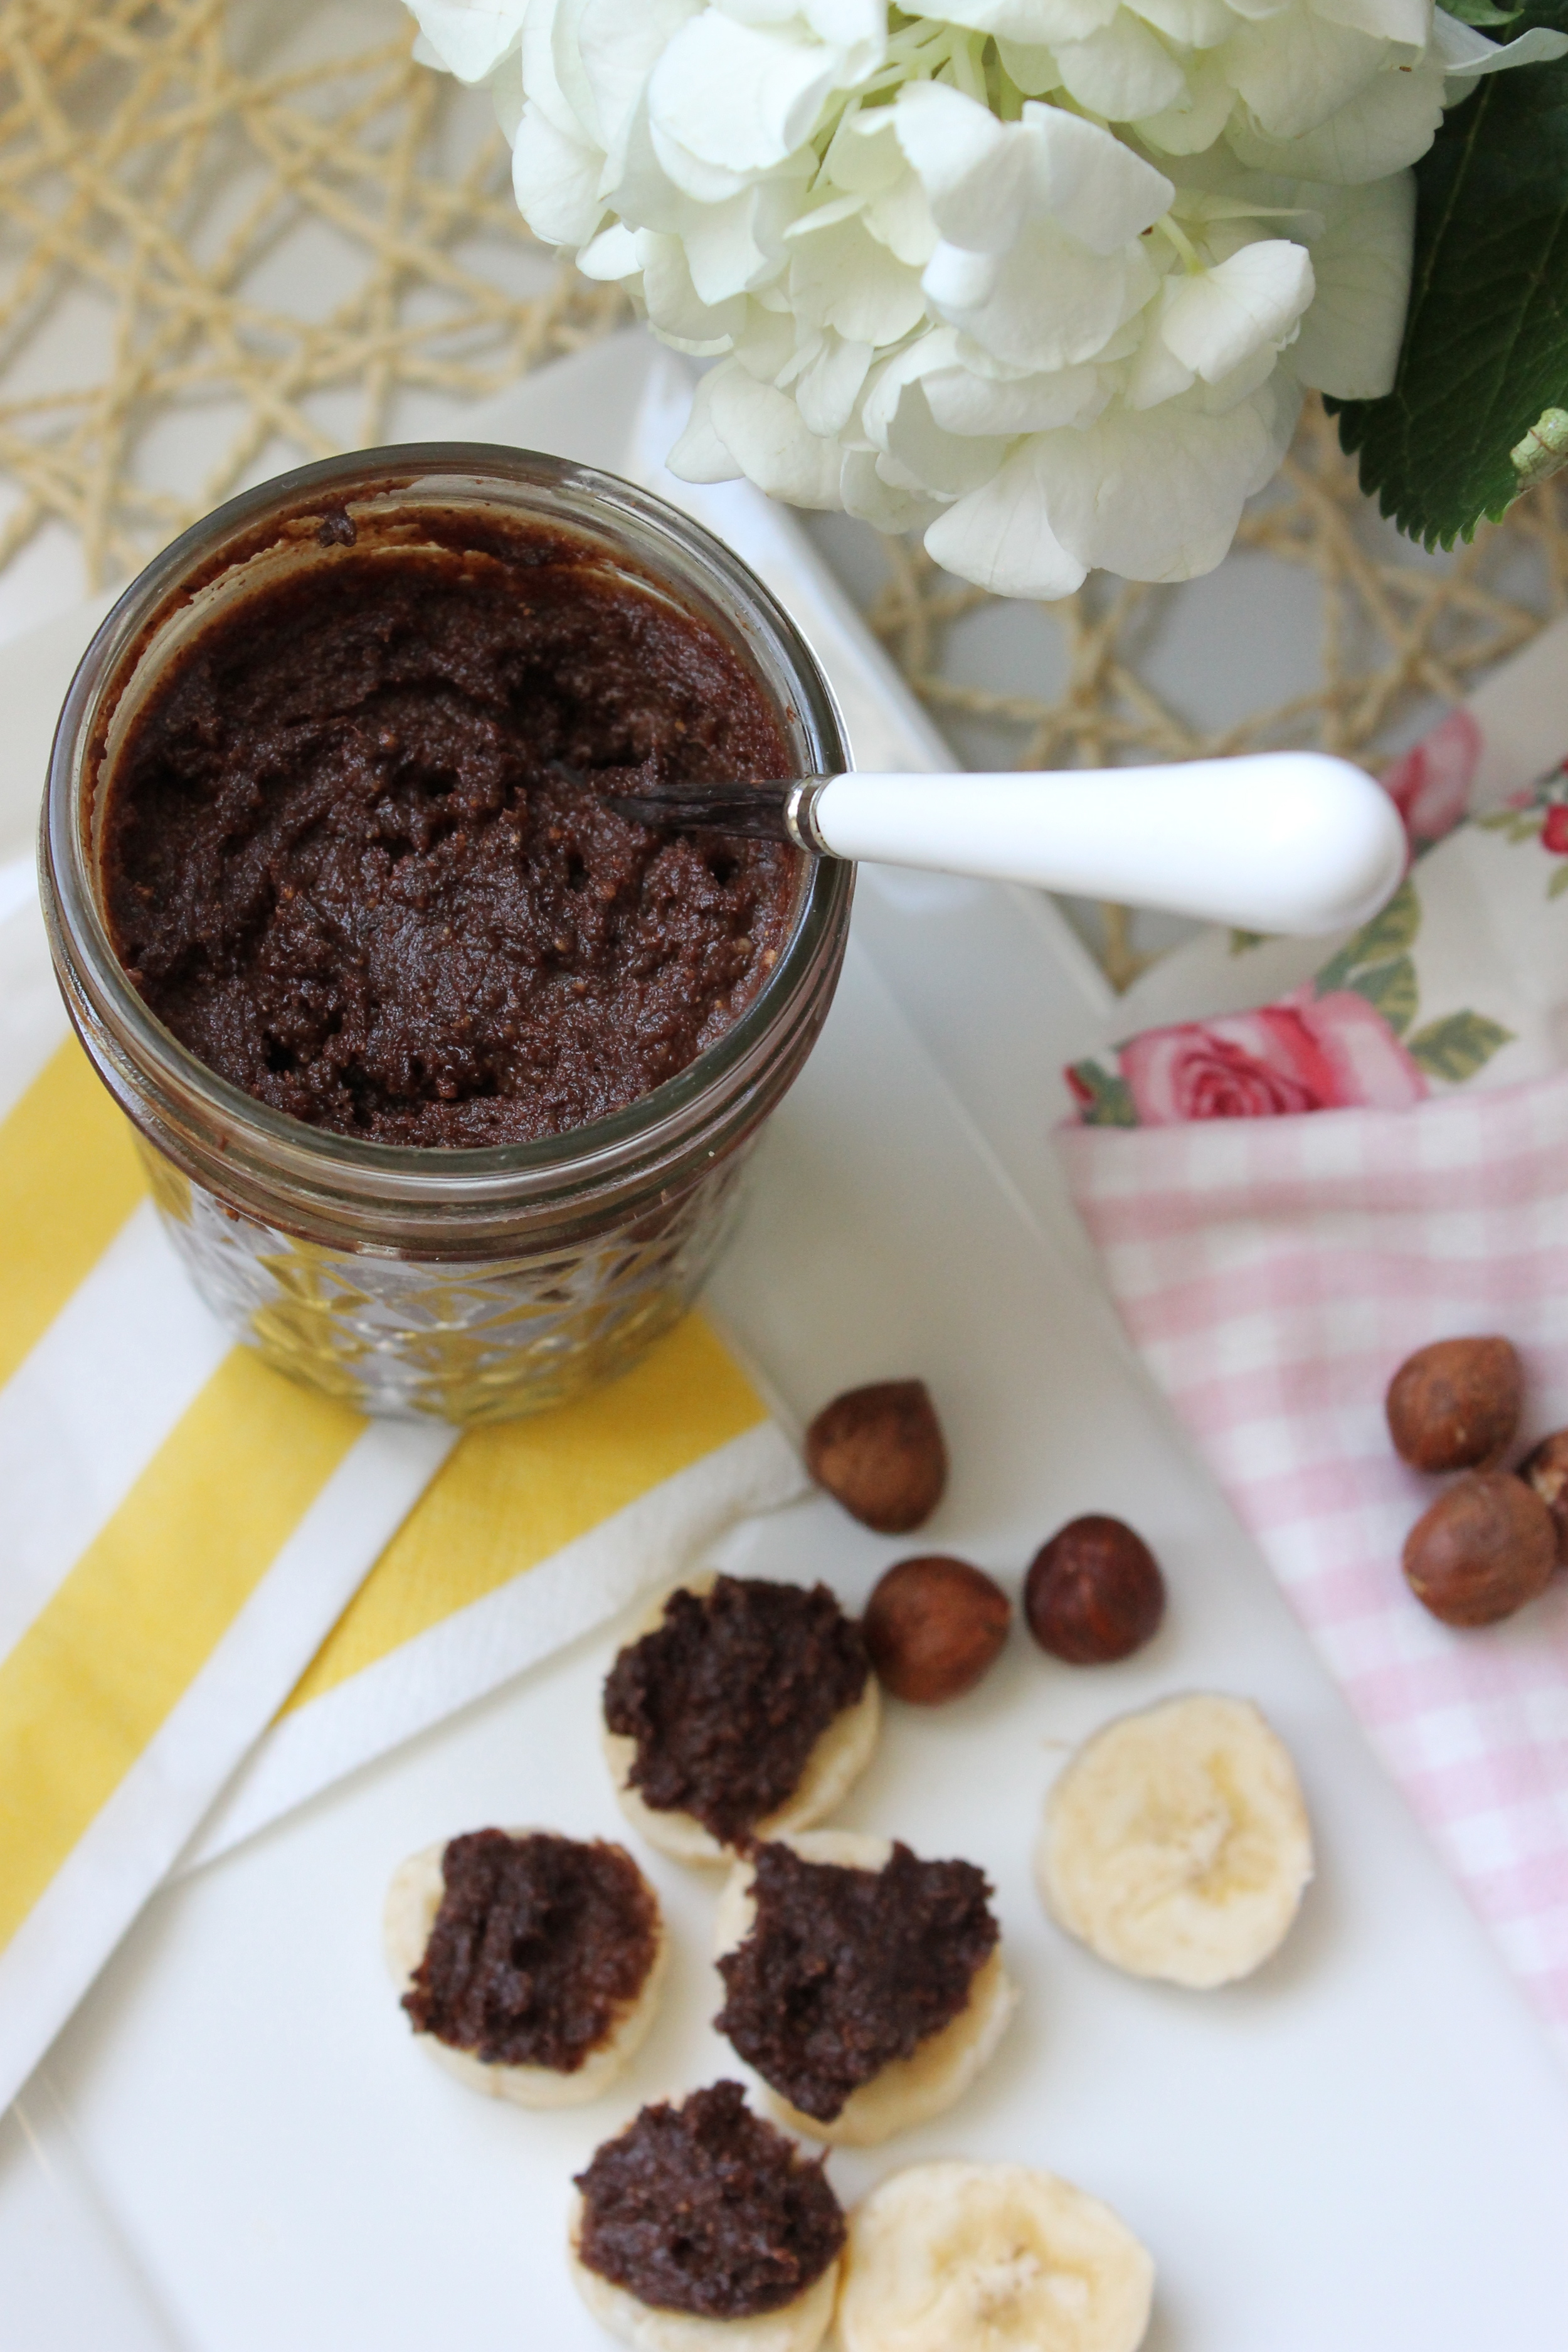
I don't know about you but I love Nutella!  There is one brand  that really stands out there  but it's not available in Toronto... so this has become one of my DIY projects.  The first time I made this, I brought it to work so it's been tested by the ladies at my team and a few managers on the floor.  They all gave it a thumbs up so I am excited to now share it.

IMG_2967.jpg

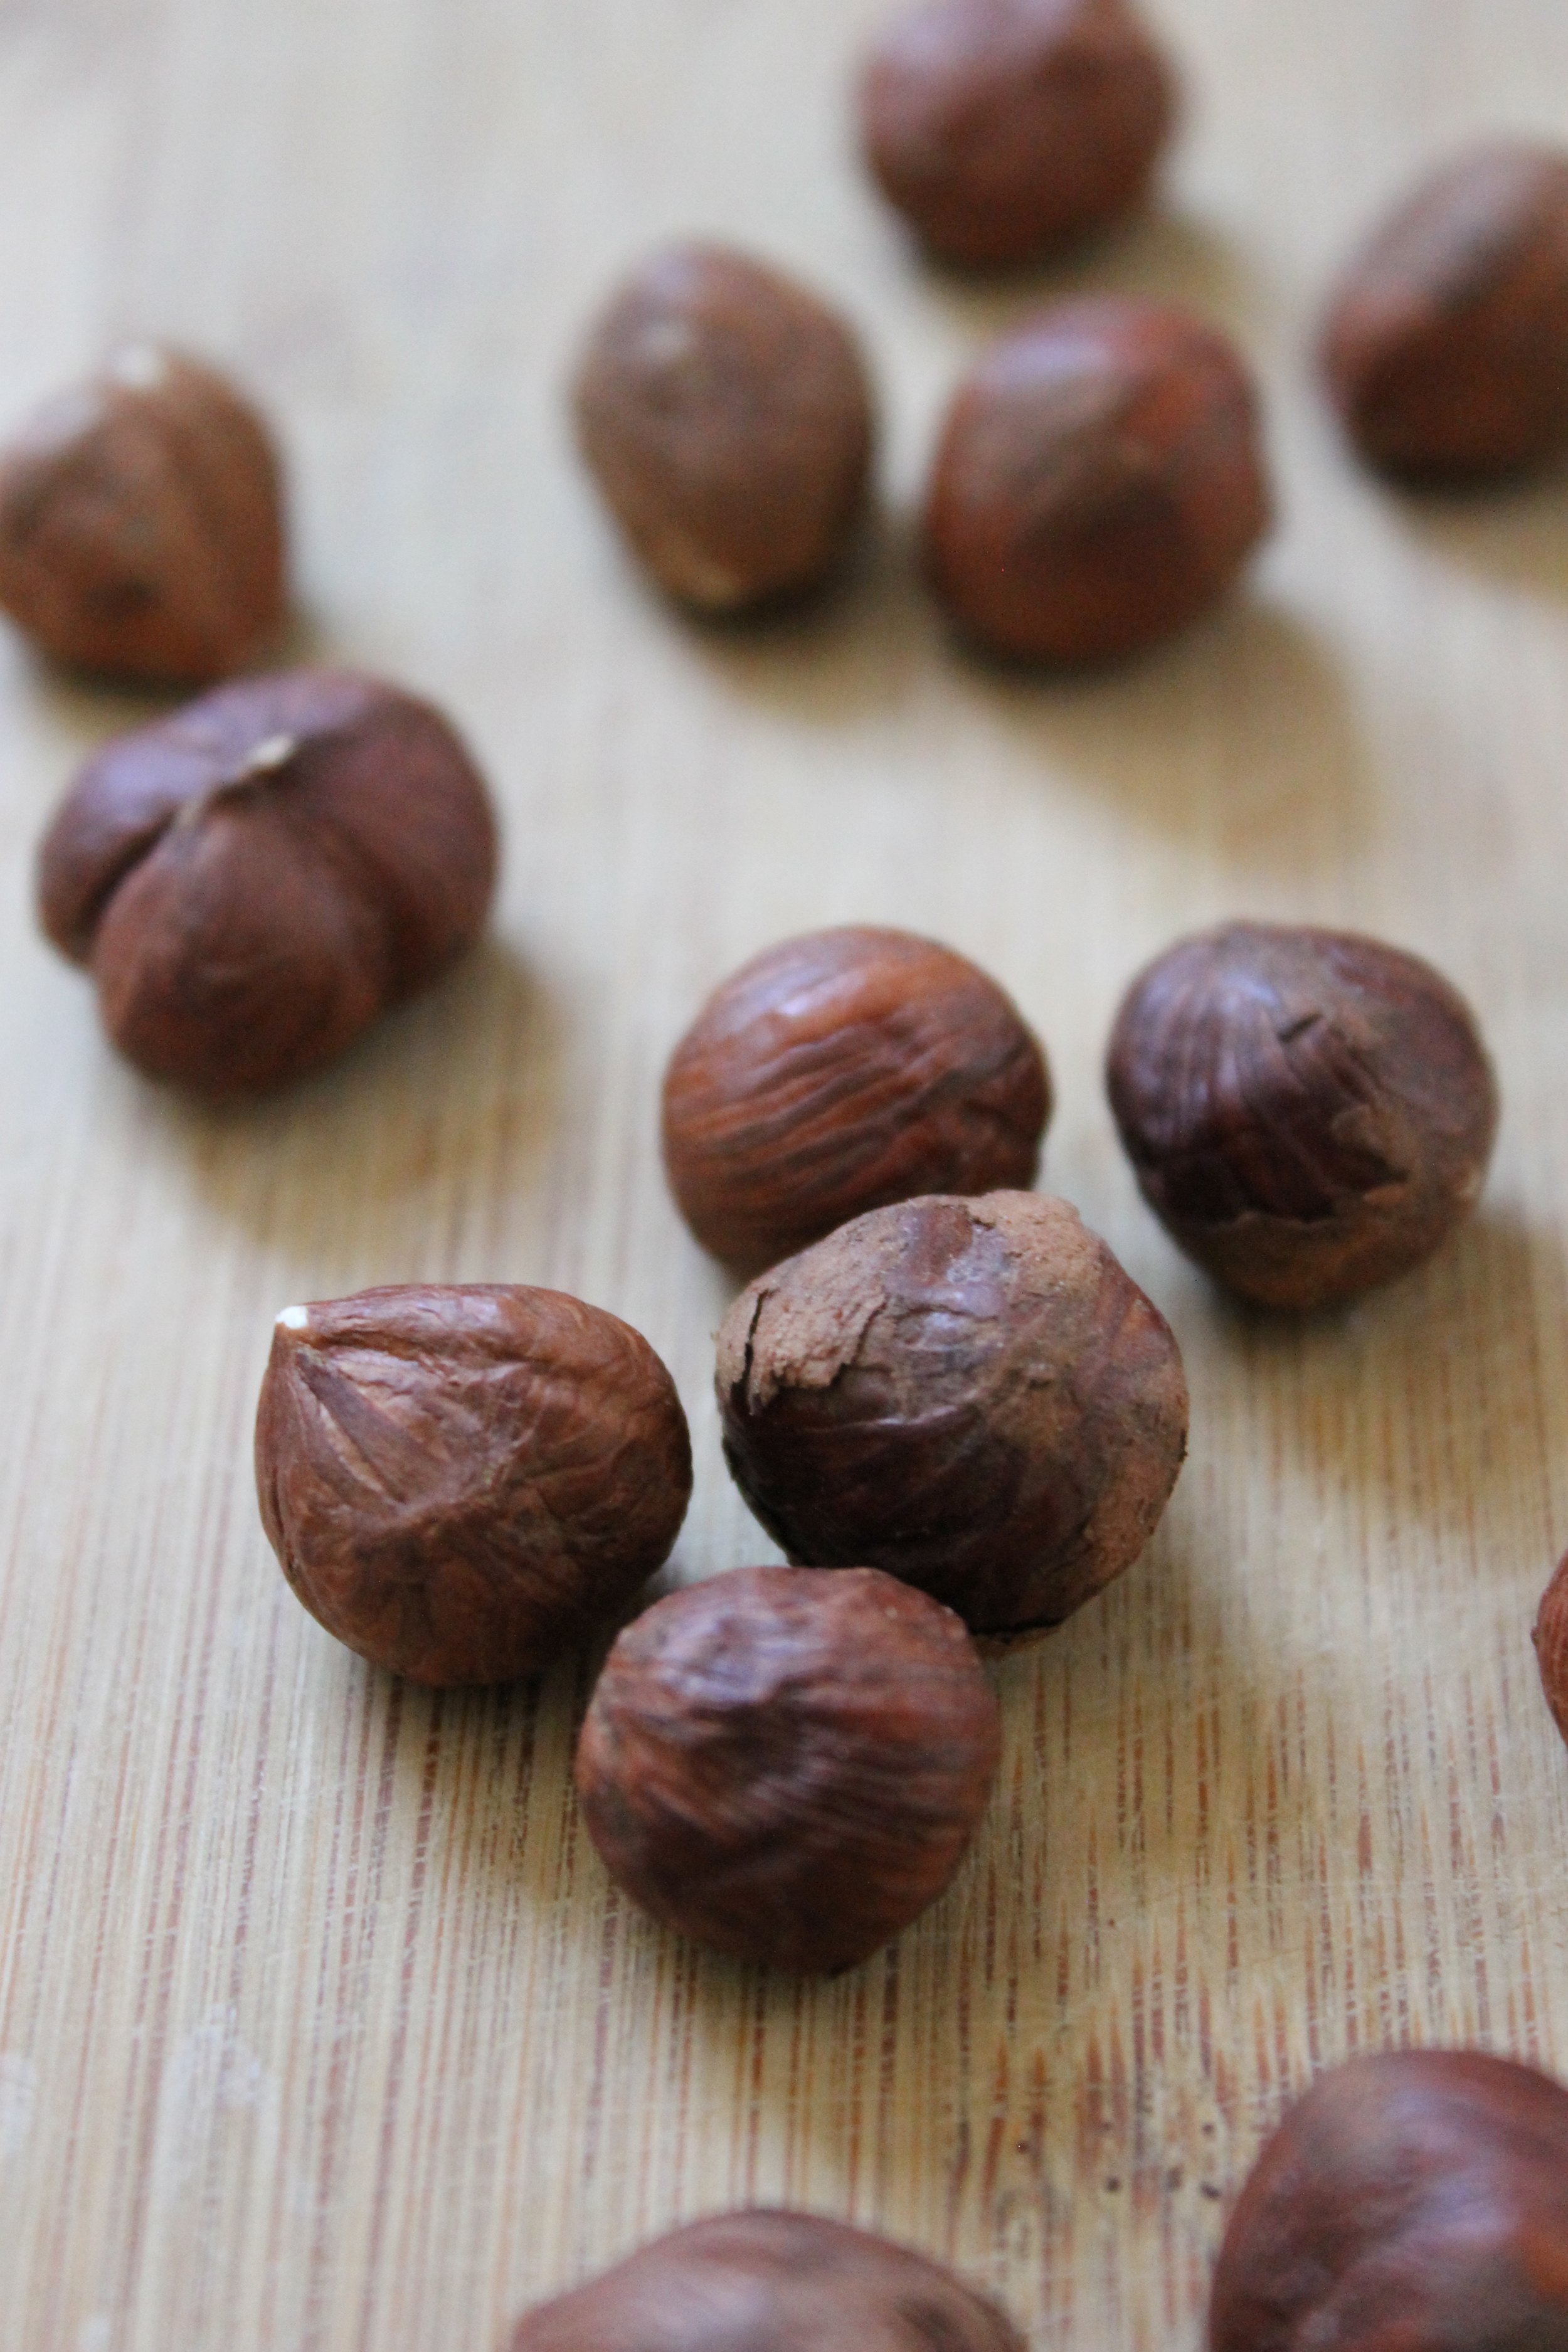
Some fun facts about hazelnutsthey are also called filberts and are a good source of Vitamin E, rich in dietary fiber, B Vitamins and folate  They also contain minerals like magnesium, phosphorous, potassium,  calcium, zinc, copper, iron, manganese and selenium. Great item to try unless you are allergic to it. 

Most nutella recipes call for the hazelnuts to be roasted.  However, the raw version is just as good or even better.  The prep time is also short...perfect for working people like you and me.   

IMG_3029.jpg
IMG_3001.jpg

Homemade  "Raw" Nutella Spread
 
Ingredients (Preferably Organic) 
1 cup hazelnuts
3  1/2 Tbsp. raw cacao powder
3 dates, pitted and chopped 
3 Tbsp. coconut oil, melted  (I used this brand)
1/2 tsp. vanilla powder
1/8 tsp. Himalayan crystal salt or Celtic sea salt
1/4 c. filtered water (or more if you desire a thinner consistency)

Method:  
1.   Measure the coconut oil needed and place it in a small bowl.   Boil water in a pan then place the bowl into the boiled water and wait for it to melt. 
2. In a high speed blender, food processor or personal blender (I used my Nutribullet), grind the hazelnuts until they turn into a powder.
3. Add the rest of the ingredients and process until the mixture turns into a spread-like consistency which may take 5 minutes or so.  Add a bit more water if you prefer the mixture thinner.

Suggestions:   
You may also substitute the dates with coconut nectar...start with 3 Tbsp. and increase it according to your taste.

IMG_3021.jpg

Nutella is so great with bananas, apples and of course with a gluten-free bread!  This can be stored at the fridge for a week.  Although it will harden there, it can be softened by placing some in a small bowl and follow the steps of melting coconut oil (see method above).  

IMG_3009.jpg

We made it through the first week of daylight savings time.  The days have been brighter lately and although it's still quite cold in Toronto, the signs of Spring are all around us.  This weekend, I was able to enjoy some peace and quiet in our home which was a good break.   My son was at his Lola's place spending time with her.  Have yourself a wonderful week!

Sincerely, 

LIna


"Raspberry" Mousse and "Chocolate" Mousse - Valentine's Day Desserts

DessertLina Liwag2 Comments
IMG_2757.jpg

It was just Christmas then all of a sudden we are almost celebrating Valentine’s Day!  I thought time flew so fast...so awesome if you were like me who can’t wait for Spring to come anytime now.  I’m still a tropical girl by heart...I dream of warm weather all the time despite being in Canada for almost 25 years.  

After that major snow storm called ‘SNOWMAGEDDON” we had yesterday, I decided to make some treats...I felt like it’s my reward as well as for the rest of Tdot... all that stressful driving, commuting, frozen extremities  and shoveling snow between Thursday night  and Saturday morning.   While the rest of Canada may look upon us as "amateurs",  it’s all a matter of perspective, right?

Here's wishing all of us a great weekend and a better week for Torontonians.  However you want to be comforted, enjoy yourselves!  Here’s two mousse recipes from "FreshnCrunchy’s kitchen"...two choices for weekend desserts or for Valentine’s Day .  These are my versions of Raspberry Mousse and Chocolate Mousse. You may notice that I'm not big on the colour red but I love lilac and all the other shades of pink.   

By the way, the pink card you see is from Angel and Austin.  The dried roses used to be very bright orange when they were first given to me on my birthday  by our friends Ricky and Becki.

IMG_2741.jpg

Chocolate Mousse
Ingredients: (Preferably Organic)
1 cup raw hazelnuts
1/2 of a medium avocado
5 Tbsp. raw cacao powder
1/4 cup coconut nectar or pure maple syrup 
1 tsp. vanilla powder
1 Tbsp. chia
4 Tbsp. lemon juice
1 c. filtered water
1/4 cup chopped pistachios for toppings

Method:
Grind the hazelnuts and the chia in a Nutribullet (I used this),  Magicbullet or a food processor until it turns into powder.  Transfer into a high speed blender or you can just keep using the Nutribullet if you have one as it does the job very well.  Add the rest of the ingredients and process until very smooth.  Adjust the taste if necessary then transfer the mixture into a glass container and chill in the refrigerator for an hour or two.  Top with pistachios and  enjoy!  This can also be used as an "icing" to your gluten-free muffins or pancakes.

IMG_2752.jpg

Raspberry Mousse
Ingredients: (Preferably Organic)
2 cups raw cashews soaked for a minimum of 4 hours to overnight
1 cup raspberry
1 cup fresh Cara-cara orange juice ( or regular orange)
3 Tbsp. lemon juice
4 Tbsp. coconut nectar or pure maple syrup
1/3 cup melted coconut butter (or coconut oil)
1/2 tsp. organic vanilla powder
1/4 cup Goji berries (can be soaked with a bit of water if you prefer it soft and not crunchy)
Method:
Place all the ingredients in a high speed blender and process until very smooth.  Adjust the taste if necessary.  Transfer the mixture into a glass container and chill in the refrigerator for an hour or two. Top with Goji berries and enjoy!

IMG_2725.jpg

Have a Happy Valentine's Day!                                 

Much Wishes,

Lina

IMG_2726.JPG