
It’s been a hot Summer in Toronto. The heat wave kinda weather that’s consistent every single day. As I'm writing this, it's 29 degrees but feels like 37! I love it being the tropical kind of girl that I am but I have to make sure that I cool down and hydrate myself as well as my family.
In addition to water, high raw food is the way to go when it comes to surviving the constant heat – green juices, smoothies, fruits, salads and the special cold treats like these popsicles. I shared a mango salad in my last post and also mentioned my love for mangoes! I love pairing them with blueberries in smoothies and desserts! Personally, I think that they’re just the perfect match, complementing each other’s flavours, colours and textures.

This recipe is simple and so easy to make. It only has 5 ingredients and as long as you also have a blender and a mould of some sort, you’re good to go. And did I tell you that no sugar is necessary as mango will sweeten this for you? Just make sure they're extra ripe. Both of the layers have it. The recipe has 2 versions, one lighter and the other more creamy.
Mango & Blueberry Popsicle
Mango layer:
1 3/4 cups very ripe mangoes cut in cubes, approximately 1 1/2 large mangoes
3/4 c. coconut milk
1 Tbsp. sprouted chia powder (I used this brand), optional and see variation
1 Tbsp. lime
Blueberry layer:
1 1/4 c. frozen blueberries
1/2 c. mango cut in cubes
1/4 c. coconut milk
1 tsp. sprouted chia powder (optional)
1 tsp. lime
Blend the ingredients for each layer separately and pour into a container with a spout. Pour alternately into a popsicle mould. Use a spoon to help ease filling them. Tap the mould into the counter a few times to prevent air bubbles. Sometimes you can't really prevent them, it will still taste great. Insert the popsicle sticks. Freeze for minimum of 4 hours or overnight. To serve, run warm water into the mould and pull them out gently.
Variation - same measurements as above but with the following changes:
Coconut cream creates a more creamy and silky mango layer
Fresh blueberries also yield a different hue as seen in the photo below
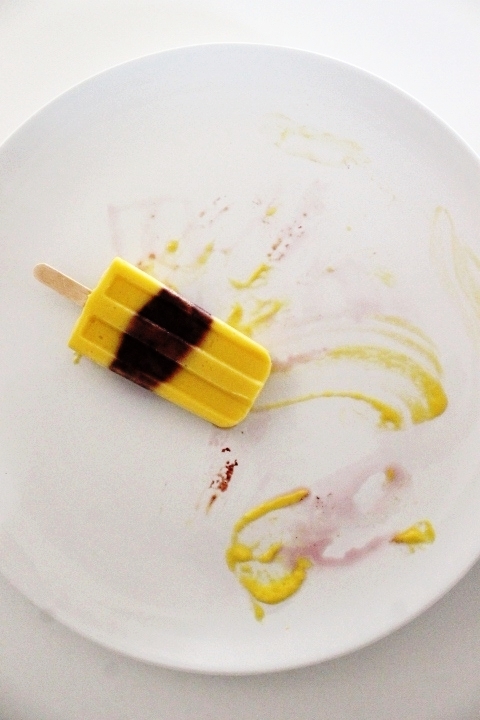
A more creamy version using coconut cream instead of coconut milk + fresh blueberries and no chia

It's been a busy and great Summer for me and my family. You can check my Instagram page here
where you can see what I've been up to. I've been making food for family and friends while teaching others how to make plant based recipes whenever I get the chance. And while were talking about this hot weather, we also love infused water as seen here and here. And what's Summer without beautiful wild flowers like these Queen Anne's Lace near our home.


